Logging into your new instance “in the cloud” (Mac version)
OK, so you’ve created a running computer. How do you get to it?
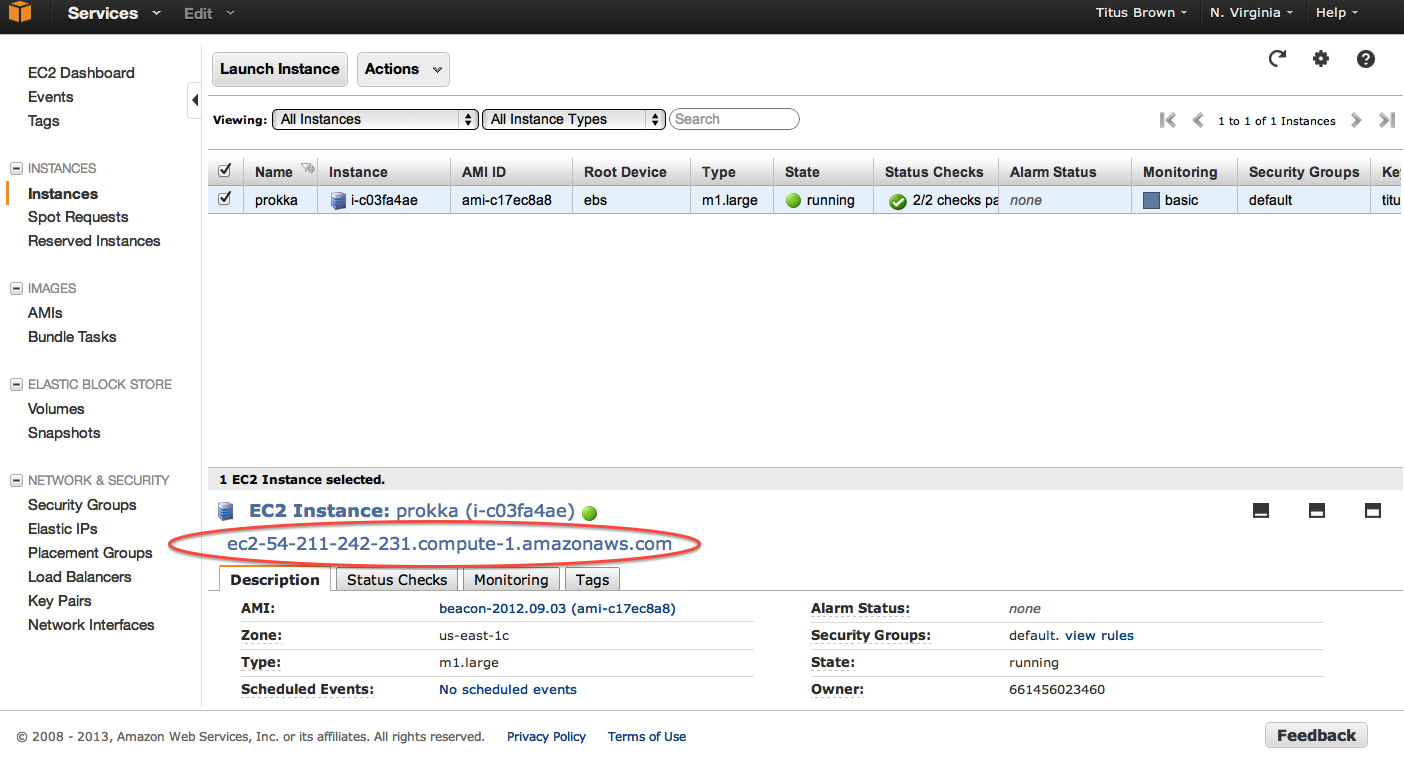
The main thing you’ll need is the network name of your new computer. To retrieve this, go to the instance view and click on the instance, and find the “Public DNS”. This is the public name of your computer on the Internet.
Copy this name, and connect to that computer with ssh under the username ‘root’, as follows.
First, find your private key file; it’s the .pem file you downloaded when starting up your EC2 instance. It should be in your Downloads folder. Move it onto your desktop and rename it to ‘amazon.pem’.
Next, start Terminal (in Applications... Utilities...) and type:
chmod og-rwx ~/Desktop/amazon.pem
to set the permissions on the private key file to “closed to all evildoers”.
Then type:
ssh -i ~/Desktop/amazon.pem root@ec2-???-???-???-???.compute-1.amazonaws.com
Here, you’re logging in as user ‘root’ to the machine ‘ec2-174-129-122-189.compute-1.amazonaws.com’ using the authentication key located in ‘amazon.pem’ on your Desktop.
Note, you have to replace the stuff after the ‘@’ sign with the name of the host; see the red circle in:
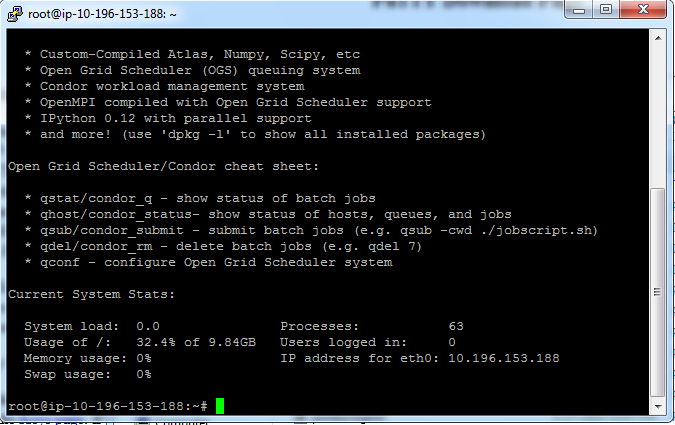
At the end you should see text and a prompt that look like this:
LICENSE: This documentation and all textual/graphic site content is licensed under the Creative Commons - 0 License (CC0) -- fork @ github.
comments powered by Disqus