Logging into your new instance “in the cloud” (Windows version)
Download Putty and Puttygen from here: http://www.chiark.greenend.org.uk/~sgtatham/putty/download.html
Generate a ppk file from your pem file
(You only need to do this once!)
Open puttygen; select “Load”.

Find and load your ‘.pem’ file; it’s probably in your Downloads folder. Note, you have to select ‘All files’ on the bottom.
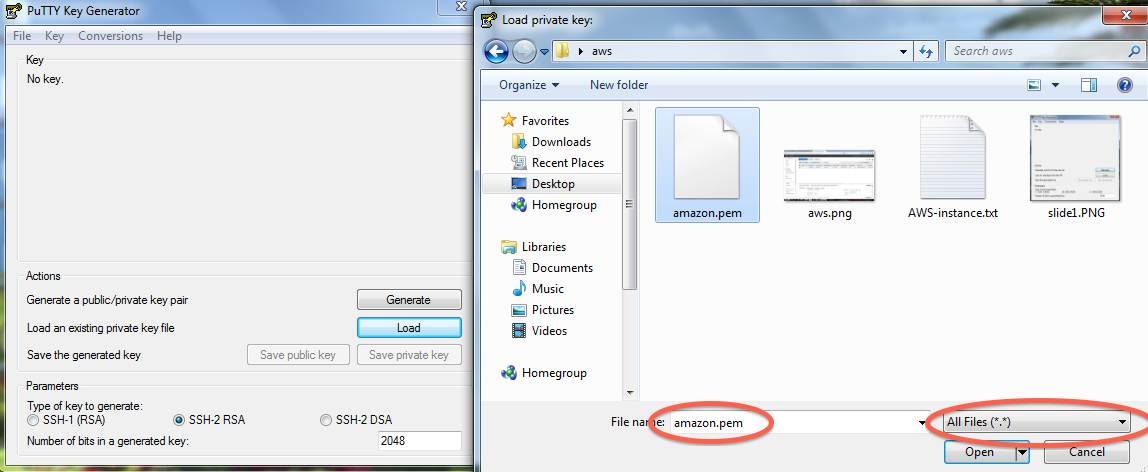
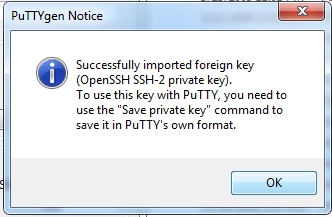
Load it.
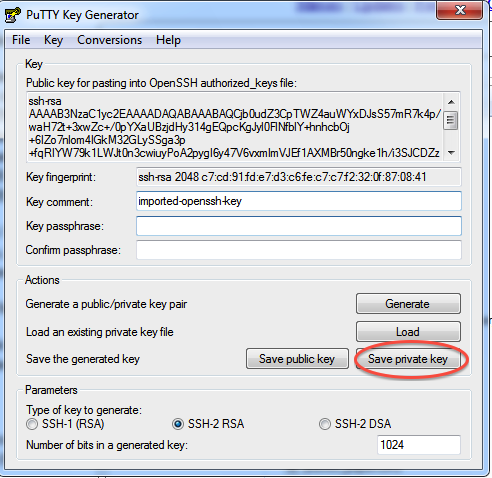
Now, “save private key”. Put it somewhere easy to find.
Logging into your EC2 instance with Putty
Open up putty, and enter your hostname into the Host Name box.
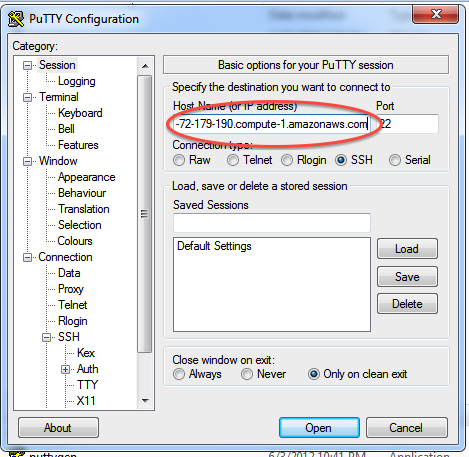
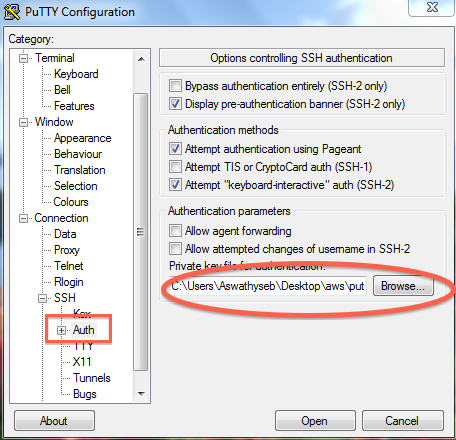
Now, go find the ‘SSH’ section and enter your ppk file (generated above by puttygen). Then select ‘Open’.
Log in as “ubuntu”.

Declare victory!

Here, you’re logging in as user ‘ubuntu’ to the machine ‘ec2-174-129-122-189.compute-1.amazonaws.com’ using the authentication key located in ‘amazon.pem’ on your Desktop.
You should now see a text line that starts with something like
ubuntu@ip-10-235-34-223:~$. You’re in! Now type:
sudo bash
cd /root
to switch into superuser mode (see: http://xkcd.com/149/) and go to your home directory.
This is where the rest of the tutorials will start!
If you have Dropbox, you should now visit Installing Dropbox on your EC2 machine.
You might also want to read about Terminating (shutting down) your EC2 instance.
To log out, type:
exit
logout
or just close the window.
LICENSE: This documentation and all textual/graphic site content is licensed under the Creative Commons - 0 License (CC0) -- fork @ github.
comments powered by Disqus